How to Make Almond Milk {step-by-step photos}
I have been making homemade almond milk for about a year now and it has been such a success that I don’t think I’ll ever go back to the bland store-bought varieties again. It always seemed like a daunting process and since I don’t have a VitaMix, I was initially even worried my regular blender couldn’t handle it. None of this proved to be true. In fact, almond milk is actually super easy to make and requires only a regular blender. The only mildly tedious part of the process is soaking the almonds overnight before you make the milk. I have outlined all of the steps I use to make the milk in the photos below. Once you start making it, you get used to the process and it becomes easy and quick. I make it weekly (or more) and couldn’t live without it!
I chose to make my almond milk plain and unsweetened, because I’d rather add my preferred sweetener as needed after the fact, but if you know you are going to always want it sweetened , you can go ahead and add 1-2 teaspoons of agave or honey to the mixture. You can also add a little vanilla extract if you’d like to make vanilla flavored almond milk.
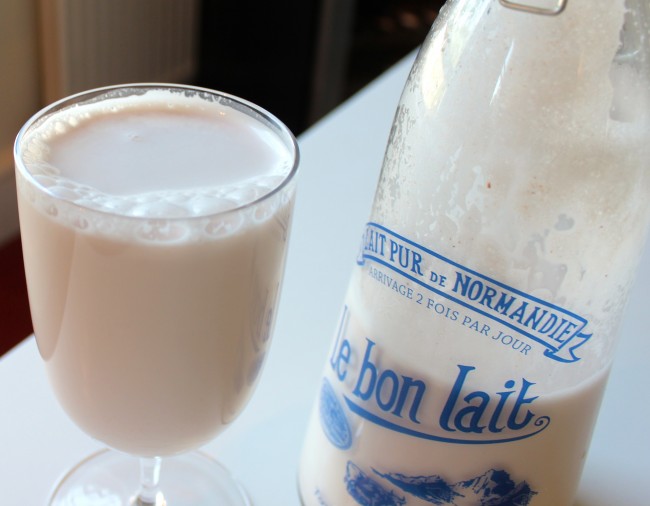
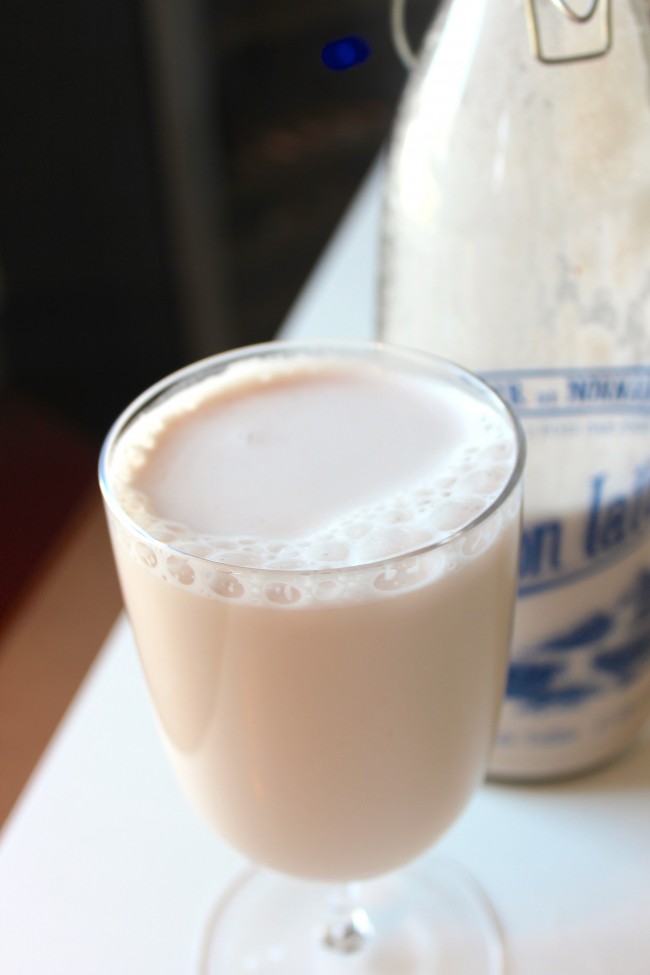
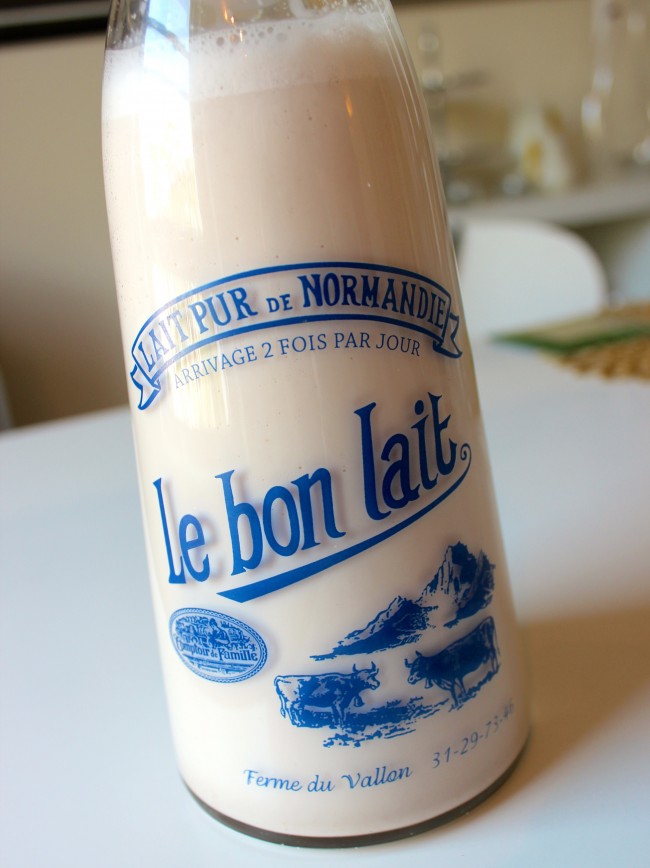
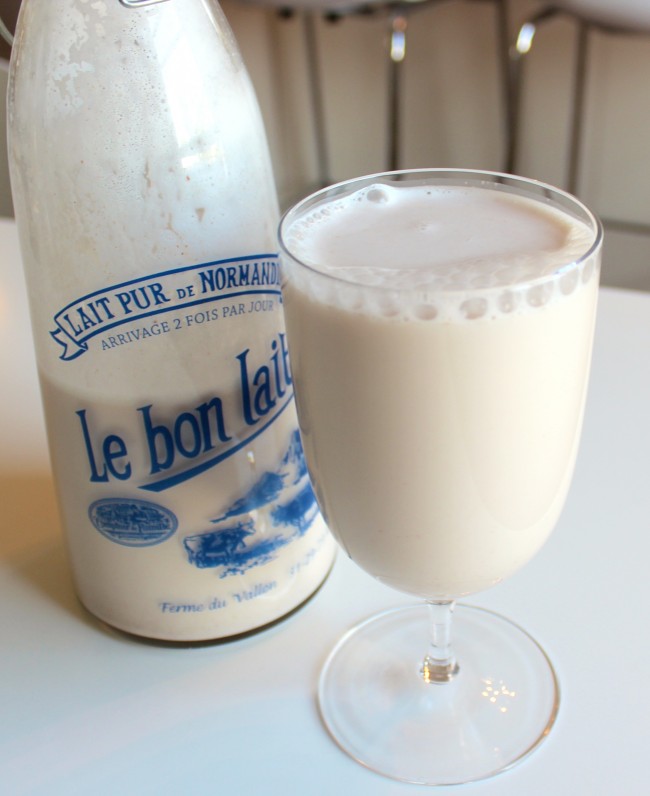
As you can see from the pictures, once the milk is blended and strained, it is a beautiful, white colour and tastes totally delicious, creamy and nutty. Add to to your tea (try my matcha latte recipe!), coffee, smoothies, cereal or just drink it plain on its own. Obsessed!
Homemade Almond Milk
Ingredients
1 cup of raw almonds
4 cups filtered or bottled water
1/2 tsp pure vanilla extract, optional
Directions
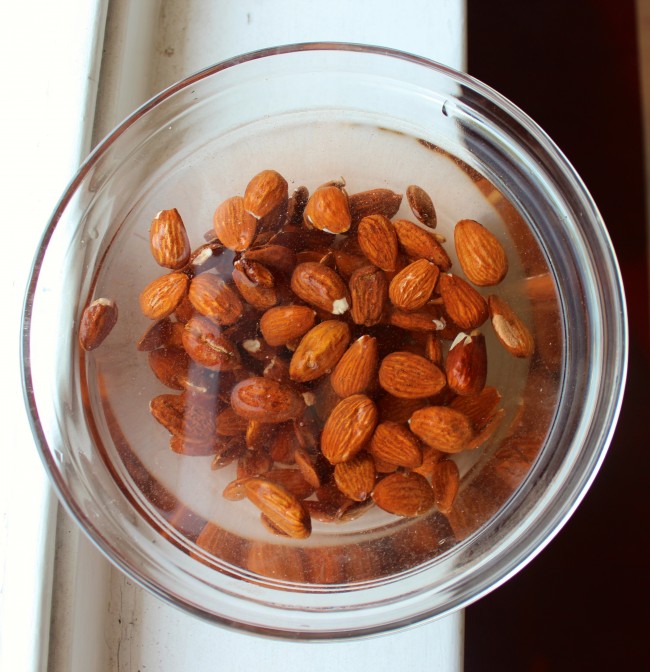
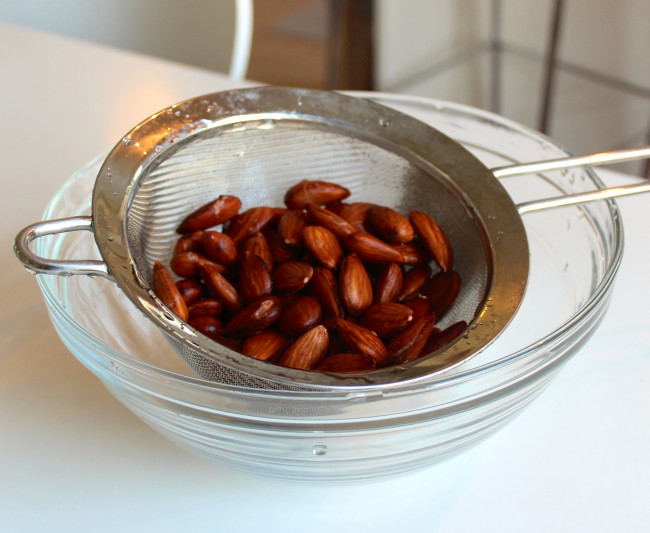
First, place raw almonds in a bowl and cover with water. Leave to sit (uncovered) overnight or for about 8 hours. This is a very important part of the process because the almonds are softened and much easier to blend after they are soaked.
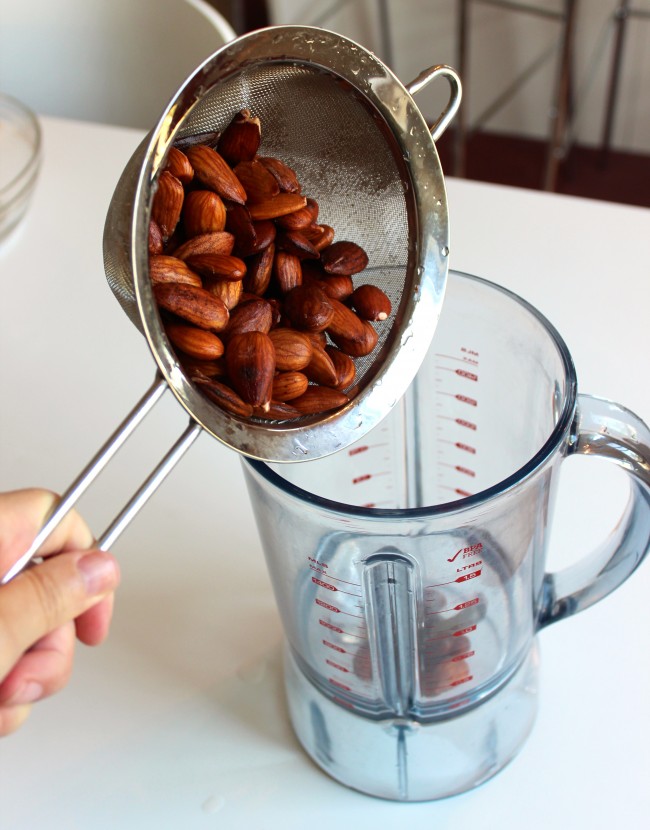
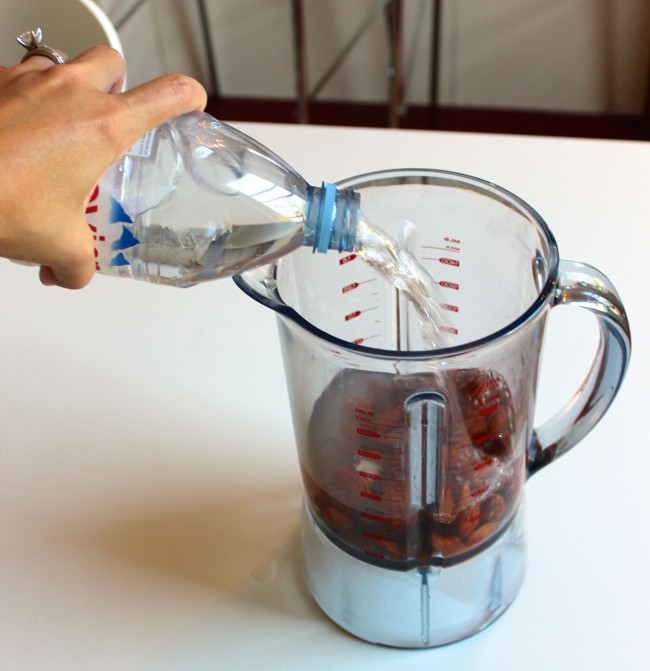
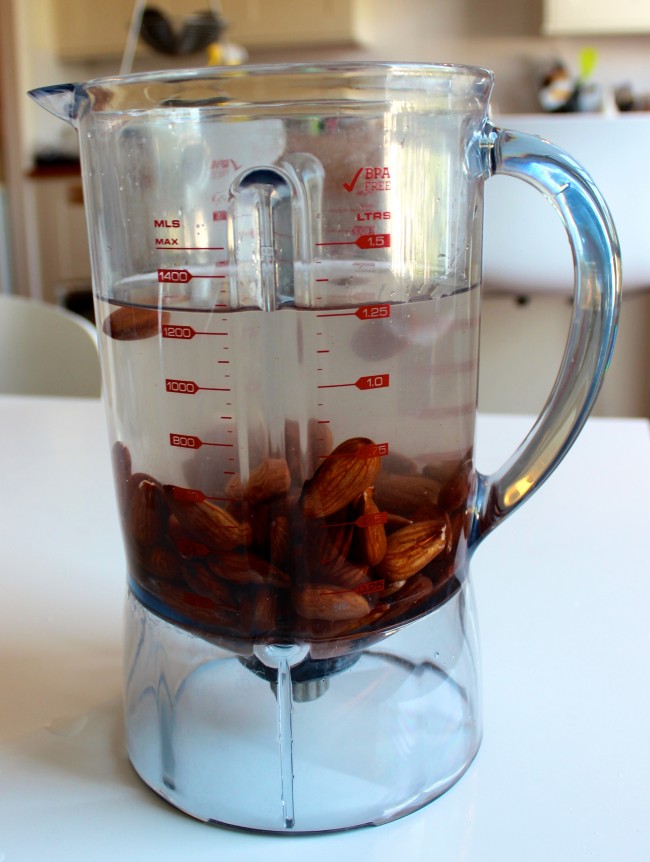
Drain the almonds and add to the blender, along with the fresh, bottled water.
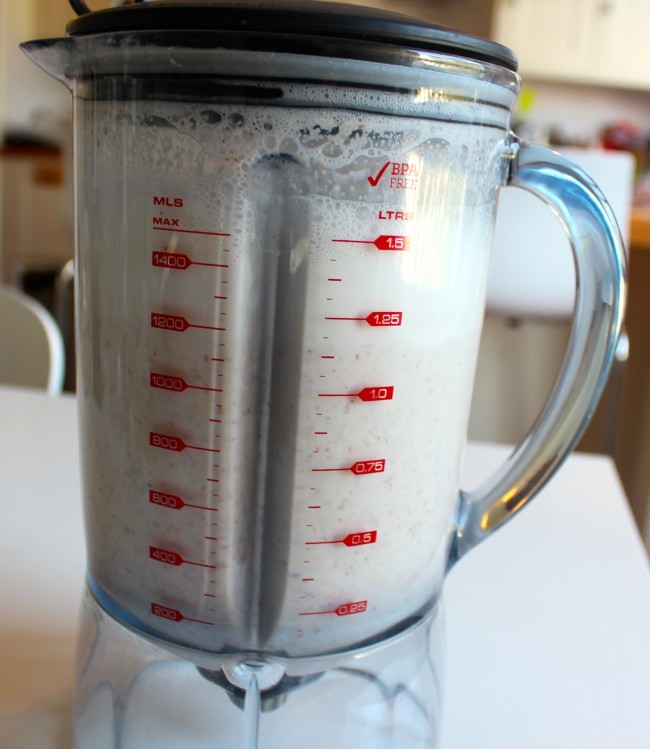
Blend on high speed for 2 minutes. It will look like this when finished…
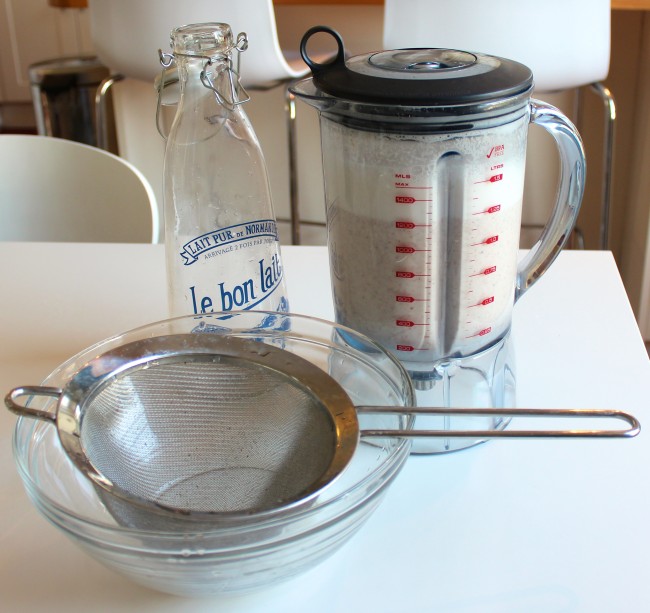
Now, it’s time to strain the mixture. Place a fine sieve over a large bowl.
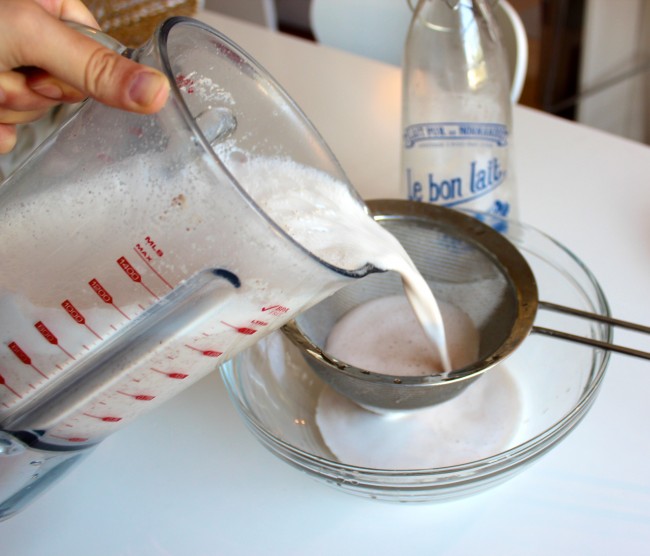
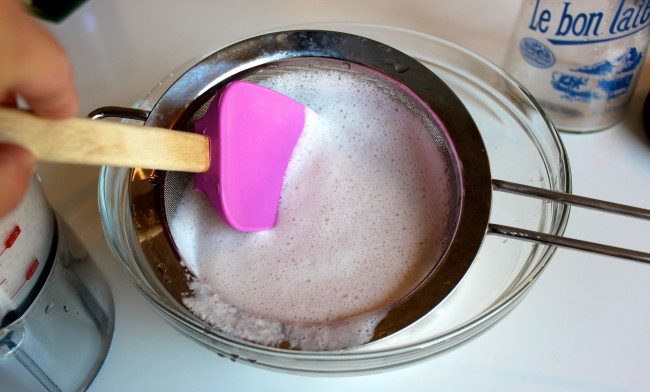
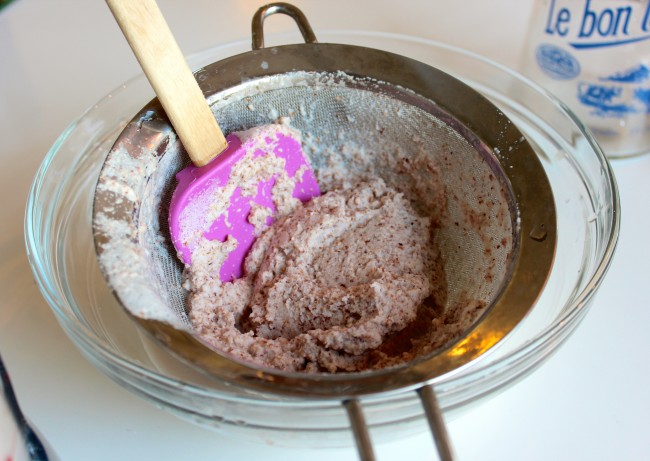
Pour the mixture through the sieve (until it almost fills to the top) and push the almond pulp through the sieve using a spatula until all of the “milk” comes through. Depending on the size of your sieve, you will need to do this a couple times since the sieve can only hold so much mixture.
You will be left with almond pulp, which you can save to make some nutritious homemade almond flour (simply place on a parchment paper-lined baking sheet and bake at the lowest possible temperature (about 200 F is usually ok) for 2-4 hours, or until the flour is dry). If you don’t feel like making the almond flour right away, you can freeze the pulp until you are ready.
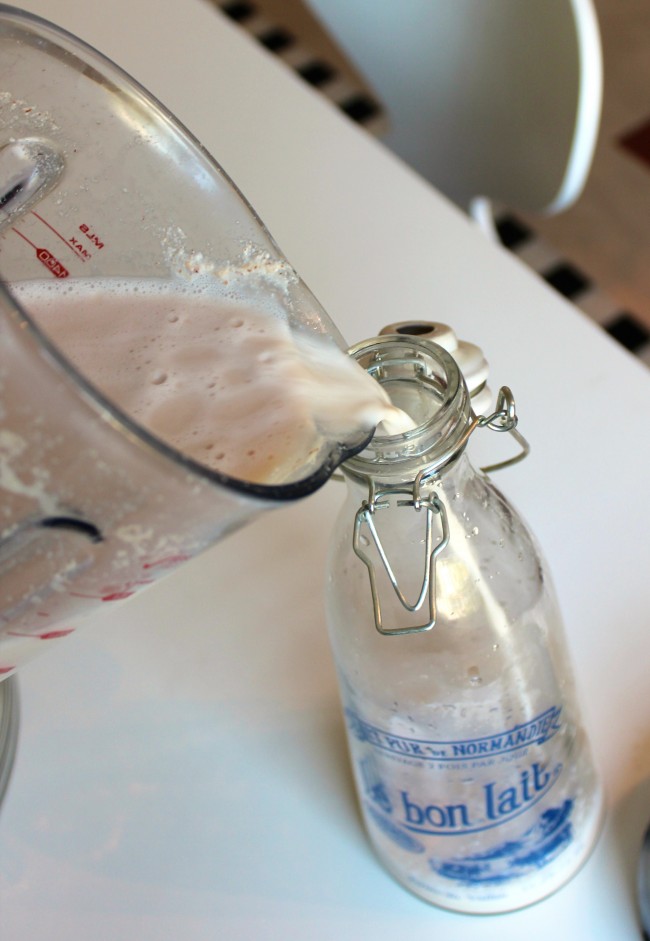
Carefully pour the strained milk into a jar or bottle. I found these adorable old fashioned milk bottles that are perfect for this purpose!
Store in refrigerator and use within 5-7 days.
- 1 cup of raw almonds
- 4 cups filtered or bottled water
- ½ tsp pure vanilla extract, optional
- First, place raw almonds in a bowl and cover with water. Leave to sit (uncovered) overnight or for about 8 hours. This is a very important part of the process because the almonds are softened and much easier to blend after they are soaked.
- Drain the almonds and add to the blender, along with the fresh, bottled water.
- Blend on high speed for 2 minutes. It will look like this when finished.
- Now, it’s time to strain the mixture. Place a fine sieve over a large bowl.
- Pour the mixture through the sieve (until it almost fills to the top) and push the almond pulp through the sieve using a spatula until all of the “milk” comes through. Depending on the size of your sieve, you will need to do this a couple times since the sieve can only hold so much mixture.
- You will be left with almond pulp, which you can save to make some nutritious homemade almond flour (simply place on a parchment paper-lined baking sheet and bake at the lowest possible temperature (about 200 F is usually ok) for 2-4 hours, or until the flour is dry). If you don’t feel like making the almond flour right away, you can freeze the pulp until you are ready.
- Carefully pour the strained milk into a jar or bottle.
- Store in refrigerator and use within 5-7 days.





2 Comments
ciaolinda
Looks delicious….can’t wait to try this!!
Janelle
You should make some soon!! 🙂